TLDR
- Your first 100 orders will expose gaps in inventory, packaging, shipping, customer support, and time management.
- Set up a simple packing station before orders start coming in.
- Keep your packaging consistent, even if it is simple.
- Use branded details like stickers, labels, and thank-you inserts to make each order feel finished.
- Track every issue in the first 100 orders so your next 100 are easier.
The first sale feels great. The first 10 sales feel exciting. Somewhere around order 37, the questions start getting real.
Do you have enough mailers? Did you reorder labels? Where are the extra thank-you cards? Why did the printer stop working right when you needed it? And why does one small packaging mistake suddenly feel like it ate the whole afternoon?
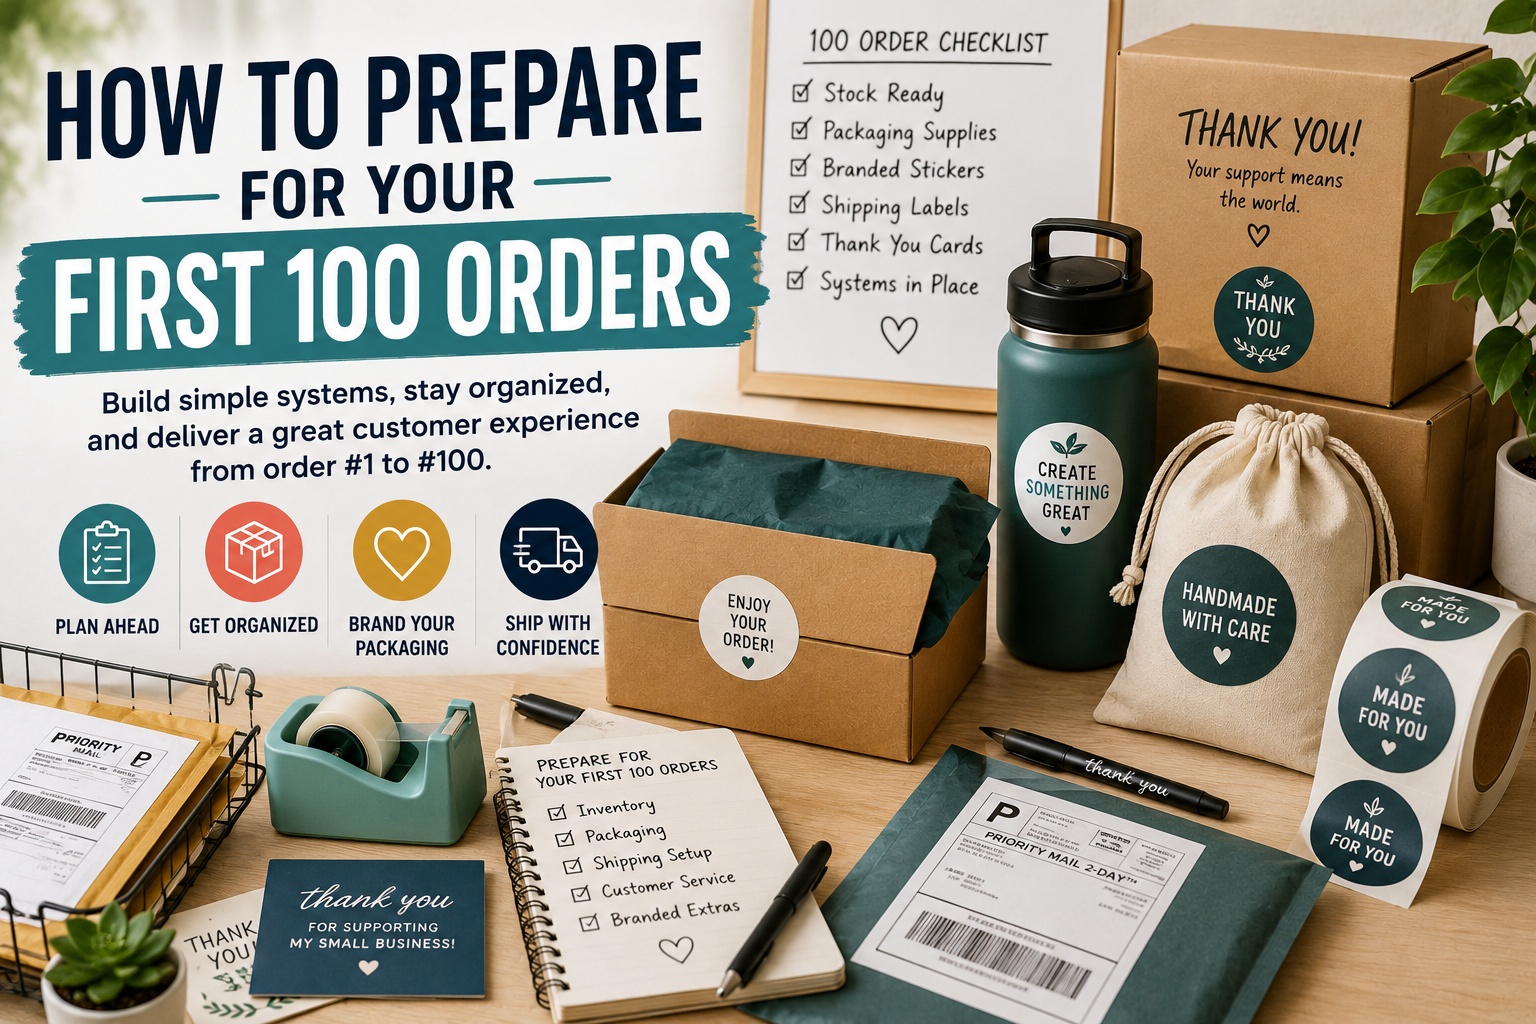
That is why preparing for your first 100 orders matters. Those first orders are not only sales. They are a test of your systems. If you set up your inventory, packaging, shipping, and customer communication early, you can avoid a lot of rushed decisions later.
Start With a Simple 100-Order Plan
Do not plan for a huge warehouse when you are still working from a spare room, garage, studio, or kitchen table. Plan for the next 100 orders.
That number is useful because it is big enough to reveal patterns but small enough to manage. You will learn which products sell fastest, which packaging slows you down, which questions customers ask, and which supplies disappear faster than expected.
Before your first 100 orders, write down:
- What products you are selling
- How many units you have ready
- What packaging each product needs
- How long it takes to pack one order
- What shipping service you plan to use
- How you will handle damaged items, missing orders, and returns
- What branded extras will go inside each package
This does not need to be fancy. A spreadsheet or notebook can work. The goal is to stop relying on memory.
Check Your Inventory Before You Promote
One of the easiest ways to create stress is to promote a product before you know what you can actually ship.
Before launching, count your finished inventory. Then count your supplies. These are separate things. You may have 100 products ready, but only 42 mailers. Or 80 jars, but only 36 labels. Or enough art prints, but not enough backing boards.
Use a basic inventory table like this:
| Item | Quantity Ready | Reorder Point | Notes |
|---|---|---|---|
| Main product | 100 | 25 | Ready to ship |
| Mailers or boxes | 120 | 30 | Fits 1 to 3 items |
| Labels | 150 | 40 | Shipping and product labels |
| Thank-you cards | 100 | 25 | Reorder before launch 2 |
| Stickers or inserts | 120 | 30 | Add to every order |
The reorder point matters. If you wait until you run out, you are already late. For your first 100 orders, a good rule is to reorder when you have about 25% of a key supply left.
Create a Packing Station That Saves Time
A packing station does not need to be impressive. It needs to be easy to use.
Keep your most-used supplies in one place:
- Boxes or mailers
- Tissue paper, crinkle paper, or protective wrap
- Product labels
- Shipping labels
- Packing tape
- Scissors
- Pens or markers
- Thank-you cards
- Stickers
- Scale
- Measuring tape
- Return address labels
- A small trash bin
The point is simple: packing should not require a scavenger hunt.
Test the station by packing five sample orders in a row. Time yourself. Watch what slows you down. If you keep reaching across the room for tape or digging through drawers for inserts, fix that before orders come in.
This is one of those small changes that feels boring until it saves you two hours.
Standardize Your Packaging
Your first 100 orders should feel consistent. They do not need expensive packaging, but they should look intentional.
A simple package can still feel branded if the pieces match. Use the same mailer style, the same sticker placement, the same thank-you card, and the same label layout. Customers notice consistency, even when they do not think about it directly.
For plain boxes, bags, jars, envelopes, or mailers, branded stickers are an easy way to make packaging feel finished. You can start with general options here: https://customstickers.com/
A few simple packaging systems work well:
| Product Type | Simple Packaging Setup |
|---|---|
| Art prints | Clear sleeve, backing board, rigid mailer, thank-you card |
| Candles | Box, label, care card, branded seal |
| Apparel | Folded item, tissue paper, sticker seal, mailer |
| Food products | Product label, safety seal, shipping box, insert |
| Stickers or small merch | Sleeve, backing card, mailer, bonus sticker |
The tradeoff is time. Extra packaging details can improve the experience, but too many steps can slow you down. Start with one or two branded touches. Then add more once the process feels stable.
Use Stickers as Part of the Order Experience
Stickers are one of the easiest branded details to add to early orders. They are small, useful, and simple to include.
You can use stickers to:
- Seal tissue paper
- Brand a plain mailer
- Label product variations
- Add a thank-you message
- Include a small freebie
- Mark limited releases
- Make bundles feel organized
- Encourage repeat orders
For product brands packing the same type of order over and over, custom sticker rolls can make the process faster. Rolls are especially useful for packaging seals, product labels, jar labels, bottle labels, and shipping station workflows.
For artists, makers, and small shops, sticker sheets can work as a product, a freebie, or a branded insert. A small sheet with icons, mascots, product art, or thank-you designs can make the package feel more personal without adding much weight.
The best branded detail is the one you can repeat 100 times without hating your packing table by the end.
Write Customer Messages Before You Need Them
Most first-time shop owners wait until there is a problem to write customer service messages. That is when writing gets harder.
Prepare a few simple message templates before launch:
- Order confirmation note
- Shipping delay message
- Damaged item response
- Missing package response
- Return or exchange response
- Thank-you message
- Out-of-stock update
Keep them short and human.
Example shipping delay message:
Hi [Name], thanks so much for your order. I wanted to let you know your package is taking a little longer than expected to ship. I’m getting it out by [date], and I’ll send tracking as soon as it is on the way. Thank you for your patience.
That kind of message can save you when you are tired, busy, or trying to answer five people at once.
Decide Your Shipping Rules Early
Shipping gets messy when the rules are vague.
Before orders start, decide:
- Which carriers you will use
- What package sizes you need
- Whether you will offer free shipping
- What order value qualifies for free shipping, if any
- How often you will ship orders
- What your processing time will be
- How you will handle tracking
- What countries or regions you will ship to
Be realistic. A same-day shipping promise sounds nice until you have a full day of work, a printer issue, and 18 packages to pack. For a small shop, a 2 to 4 business day processing window may be easier to maintain.
Customers usually do not need everything instantly. They need clear expectations.
Create a First 100 Orders Checklist
A checklist keeps the packing process steady. It also helps if someone else needs to help you pack.
Here is a simple version:
| Step | Task |
|---|---|
| 1 | Print packing slips or order list |
| 2 | Pull products from inventory |
| 3 | Check product condition |
| 4 | Add product label or branded sticker |
| 5 | Pack product securely |
| 6 | Add thank-you card or insert |
| 7 | Add bonus sticker, if included |
| 8 | Seal package |
| 9 | Weigh package |
| 10 | Print and apply shipping label |
| 11 | Mark order fulfilled |
| 12 | Move package to outgoing area |
The outgoing area is important. Finished packages should not mix with unpacked orders, returns, or loose inventory. Even a single shelf or bin can prevent confusion.
Prepare for Mistakes Without Panicking
Something will go wrong in the first 100 orders. That is normal.
You might miscount inventory. A package might get delayed. A label might print with the wrong setting. A customer might enter the wrong address. A product might arrive damaged. Your job is not to create a flawless system on day one. Your job is to notice the issue, fix it, and prevent the same mistake from repeating.
Keep a simple issue log:
| Problem | What Happened | Fix for Next Time |
|---|---|---|
| Ran out of mailers | Ordered too few before launch | Reorder at 25% remaining |
| Customer asked about sizing | Product page was unclear | Add size photo |
| Item damaged in transit | Packaging was too loose | Add protective insert |
| Packed wrong variant | Similar labels looked alike | Add color-coded bins |
This is not about blaming yourself. It is about turning early mistakes into better systems.
Make Your Product Pages Clear
A lot of customer service issues start before the customer ever buys.
If your product page is unclear, customers will guess. And when customers guess, some will guess wrong.
Before launch, check that each product page includes:
- Clear product photos
- Size information
- Material details
- Color notes, if colors may vary by screen
- Processing time
- Shipping notes
- What is included
- Care instructions, if needed
- Return or exchange rules
- Any customization instructions
For physical products, include at least one photo that shows scale. A sticker next to a laptop. A candle in someone’s hand. A print in a frame. A pouch next to common objects. Scale photos reduce confusion.
Think About the Second Order
Your first 100 orders are not only about getting packages out the door. They are about making people want to order again.
Small details help:
- Clean packaging
- A clear thank-you note
- A reorder card
- A discount for a future purchase
- A bonus sticker
- A QR code to join an email list
- A product care card
- A request for a review after delivery
Do not overload the package with too many cards and messages. Keep it simple. One useful insert is better than five pieces of paper the customer immediately recycles.
The best repeat-order strategy is a good first order. Ship what you promised. Pack it carefully. Make the customer feel like a real person prepared it.
Know When to Ask for Help
At some point, packing orders alone may stop making sense. That might happen at 50 orders, 100 orders, or 500 orders. It depends on the product.
Watch for signs:
- Orders are taking too long to ship
- You are making repeat packing mistakes
- Customer messages are piling up
- You are out of supplies too often
- You do not have time to make or restock products
- You are avoiding promotion because fulfillment feels too stressful
Help does not need to mean hiring a team. It might mean asking a friend to help for one launch day, using scheduled pickup, ordering pre-cut packaging supplies, batching label printing, or setting up better storage.
The goal is not to look bigger than you are. The goal is to make the work manageable.
Conclusion
Your first 100 orders are a learning period. You will find out what sells, what slows you down, what customers care about, and what systems need to change.
Prepare your inventory. Set up your packing station. Standardize your packaging. Write customer service templates before you need them. Use branded details like stickers and inserts in a way you can repeat. Then track every issue so your next 100 orders are smoother.
You do not need a perfect operation to start. You need a clear enough process to ship consistently, fix mistakes quickly, and give customers a reason to trust you again.